


Table of contents
Create React App is a tool used by a lot of developers to initialize and set up their React applications. It supports Hot module reloading, ES6, automatic transpiling etc. However, if you have used it for a long time, you might have noticed the amount of time it takes for initialising the app. Reloading also takes a few seconds when you save your changes. To increase your productivity as a developer and to reduce the time taken for set up and HMR, here’s a new tool called Vite.
What is Vite?
Vite(pronounced as Veet) is a new build tool that takes less time for setting up your project and the amount of time required for Hot Module Replacement is almost negligible whereas CRA usually takes a few seconds for HMR.
Setting up a React Project with Vite:
To get started with Vite, follow these steps:
Create a folder or open an existing folder wherever you are going to set up your project.
If you are using VS Code, open the integrated terminal. Else open the command prompt.
cd to the folder you created in Step 1.
Enter the following command:
npm create vite@latestEnter the name of your project as shown below.
In the next step, you will be given options to choose your framework. Since we are working on a React project, you can use the down arrow key to move to React option and select it(by clicking Enter).
Choose the variant. I’m going to choose JavaScript. You can choose anything according to your requirement, using the down arrow keys and the enter key.

After this step, you will see the following:

Now, cd to the project folder and run npm install. Once you are done, enter npm run dev to start your development server.
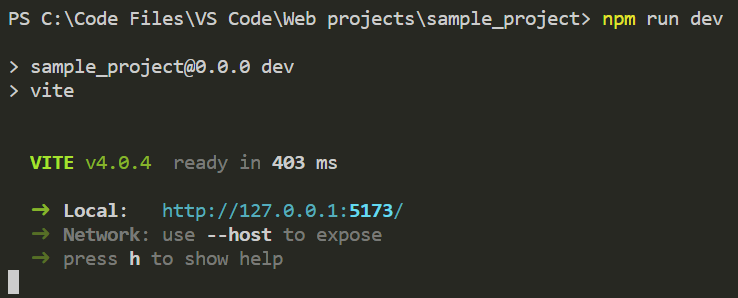
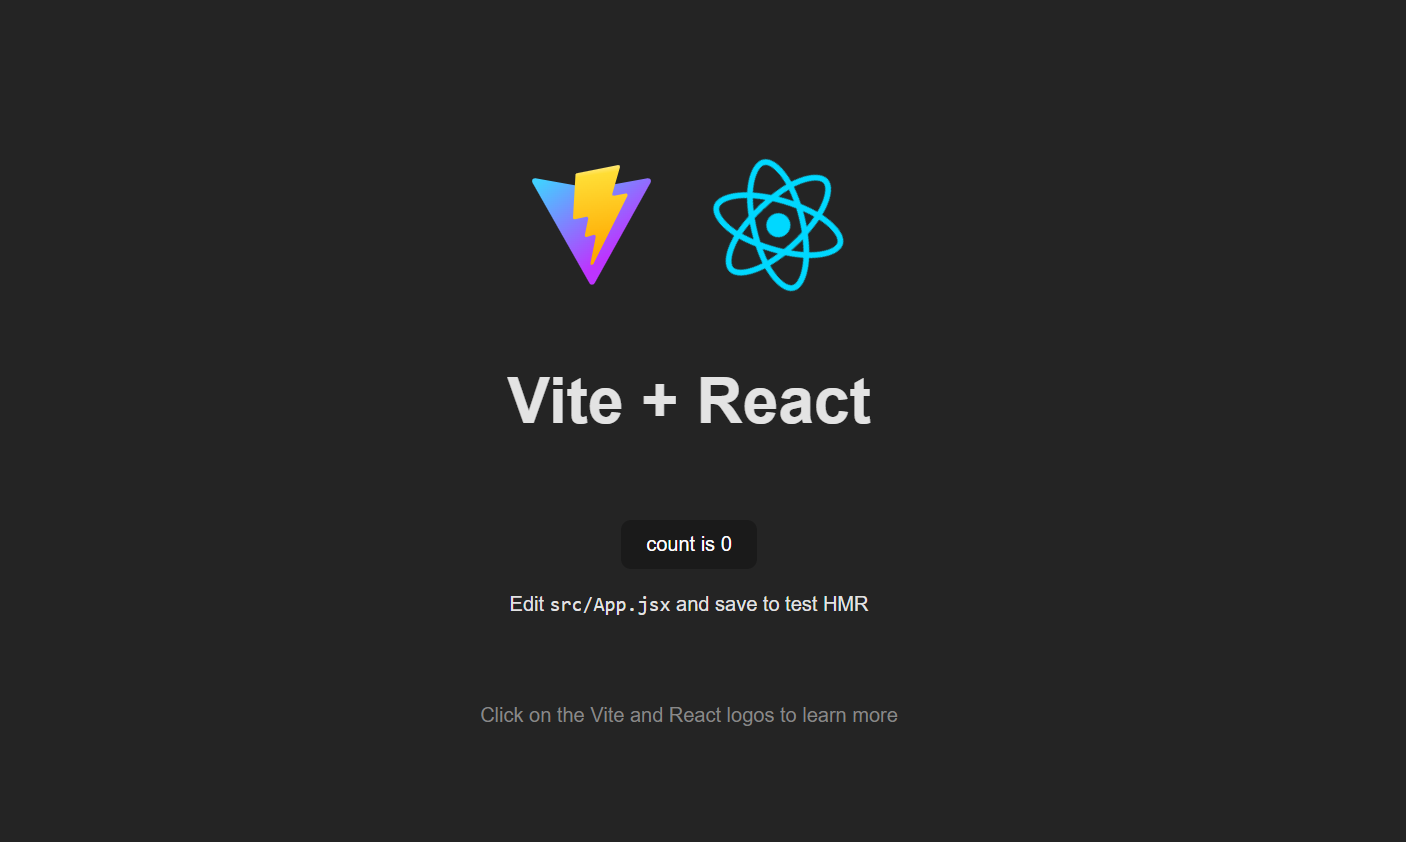
Hold Ctrl and click on the local host link. Your React app will open on the local host and you will be good to go with your development!
Conclusion:
That was a tutorial on Vite. We learned how to set up a React app using Vite in less time. Hope you got to learn something from this blog. Stay tuned for more such amazing development tools and tutorials like this.
Thanks for reading!